121
Climb from 121 to 170 by hitting your exact target each round.
121 is one of two modes that need an Autodarts Plus membership — the other is Killer. On a free account it still shows up in the game-mode picker, but with an Upgrade badge in place of the usual Practice tag.
How to play: Everyone starts on a target of 121 and tries to check out exactly that score. In darts, checking out means finishing on a double (the narrow outer ring, worth twice the segment's value) or the bullseye (the small circle at the dead center of the board) — so you need to land exactly 121, with your last dart in a double or the bull.
Each attempt at your target is one round, and a round gives you three turns of up to three darts each — nine darts in total, or two turns and six darts if Dart Mode is set to 6-dart. Manage it and your target climbs by the Step you picked; miss it and your target moves back down, by how much depending on On Fail. Go past your target, or leave yourself on 1 (which can never be checked out, since the smallest double is 2), and it's a bust — that turn scores nothing.
The ceiling is 170 — the highest score anyone can check out with three darts. Check out 170 and you win on the spot. Otherwise the game runs for the number of rounds set by Max Rounds, and the player who finishes on the highest target wins.
Settings
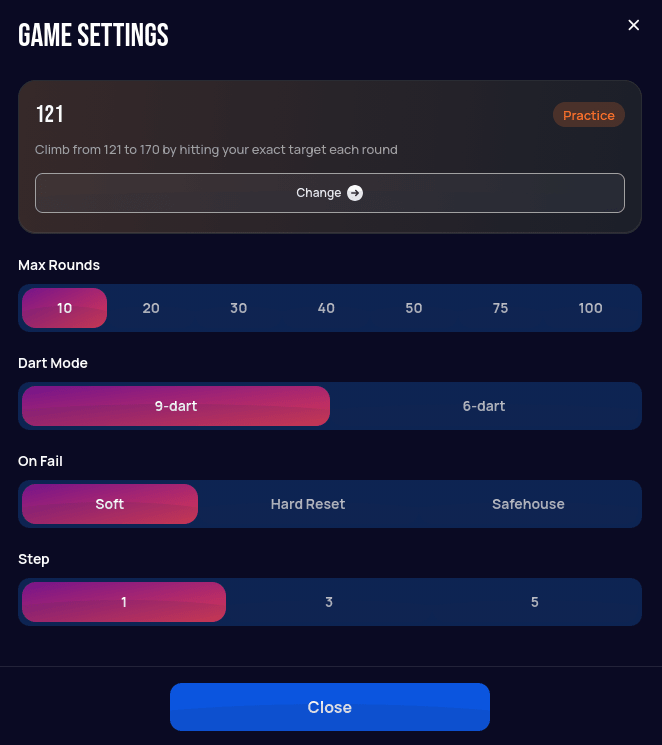
| Setting | Options | Notes |
|---|---|---|
| Max Rounds | 10 / 20 / 30 / 40 / 50 / 75 / 100 | How many rounds the game runs for. Each round is one attempt at your current target. |
| Dart Mode | 9-dart / 6-dart | How many darts you get per attempt — three turns of three darts, or two. |
| On Fail | Soft / Hard Reset / Safehouse | What happens when a round ends without a checkout. See below. |
| Step | 1 / 3 / 5 | How much a successful checkout raises your target. |
On Fail
The three On Fail settings are what make 121 easier or harsher, and they only differ in how far a missed checkout sets you back:
- Soft — your target drops by one. It drops by one whatever Step is set to, so the climb and the fall aren't symmetrical: on Step 3, checking out 121 takes you to 124, and then failing 124 puts you on 123, not back to 121.
- Hard Reset — your target goes all the way back to 121, however far you had climbed. Fail on 127 and you start over from 121.
- Safehouse — every so often your current target is banked as a safe point, and a failed checkout never sends you below it.
Choosing Safehouse adds a fourth setting, Safehouse Every, which sets how often a safe point gets banked — after every checkout, or every 2nd, 3rd or 5th:
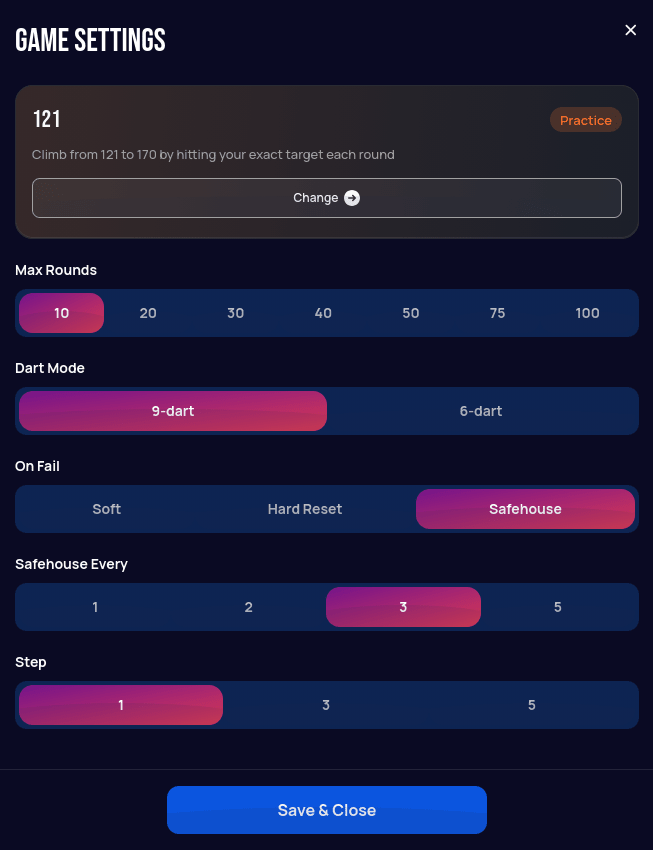
Set Safehouse Every to 1 and every checkout banks a safe point, so you never lose ground once you have gained it.
Playing a round
Each player's card shows the state of their climb:
- Level — the target you are currently trying to check out.
- Round — which round you are on, out of Max Rounds.
- The dot counter — the three dots beside your score, one per turn, filling in as you use up your turns at this target.
- Checkouts and High score — how many targets you have checked out so far, and the highest target you have reached.
The large number on the card is what you have left to check out right now, counting down as you score — exactly like a leg of X01, just starting from your current target instead of 501.
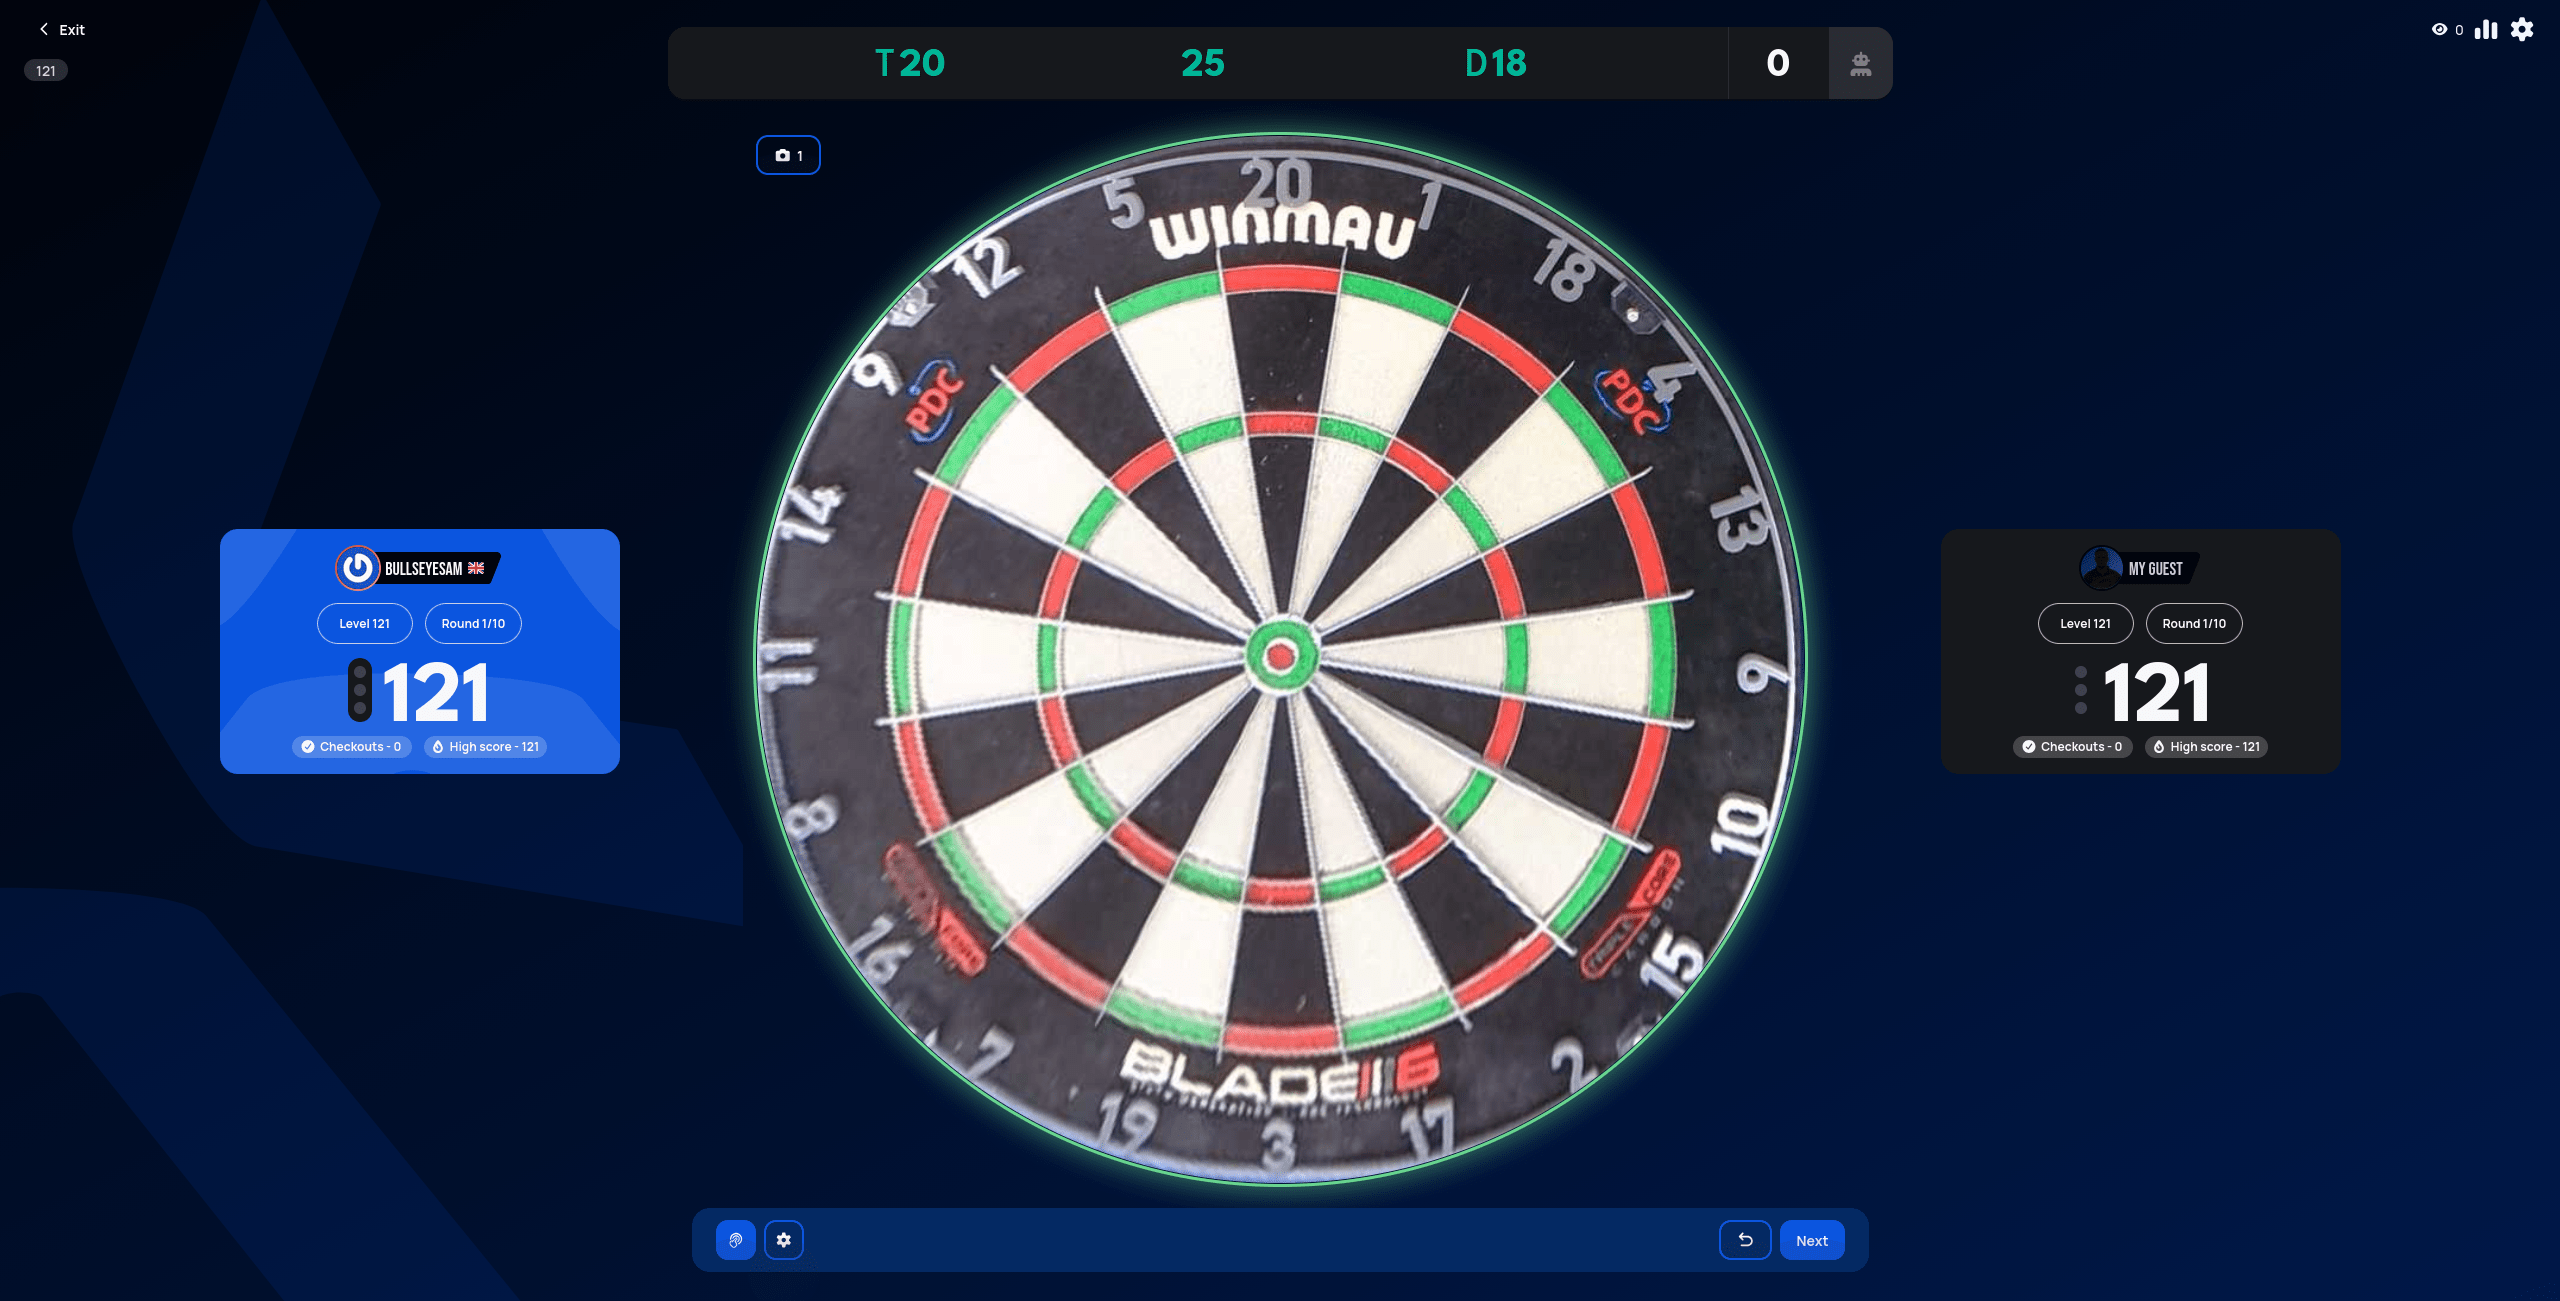
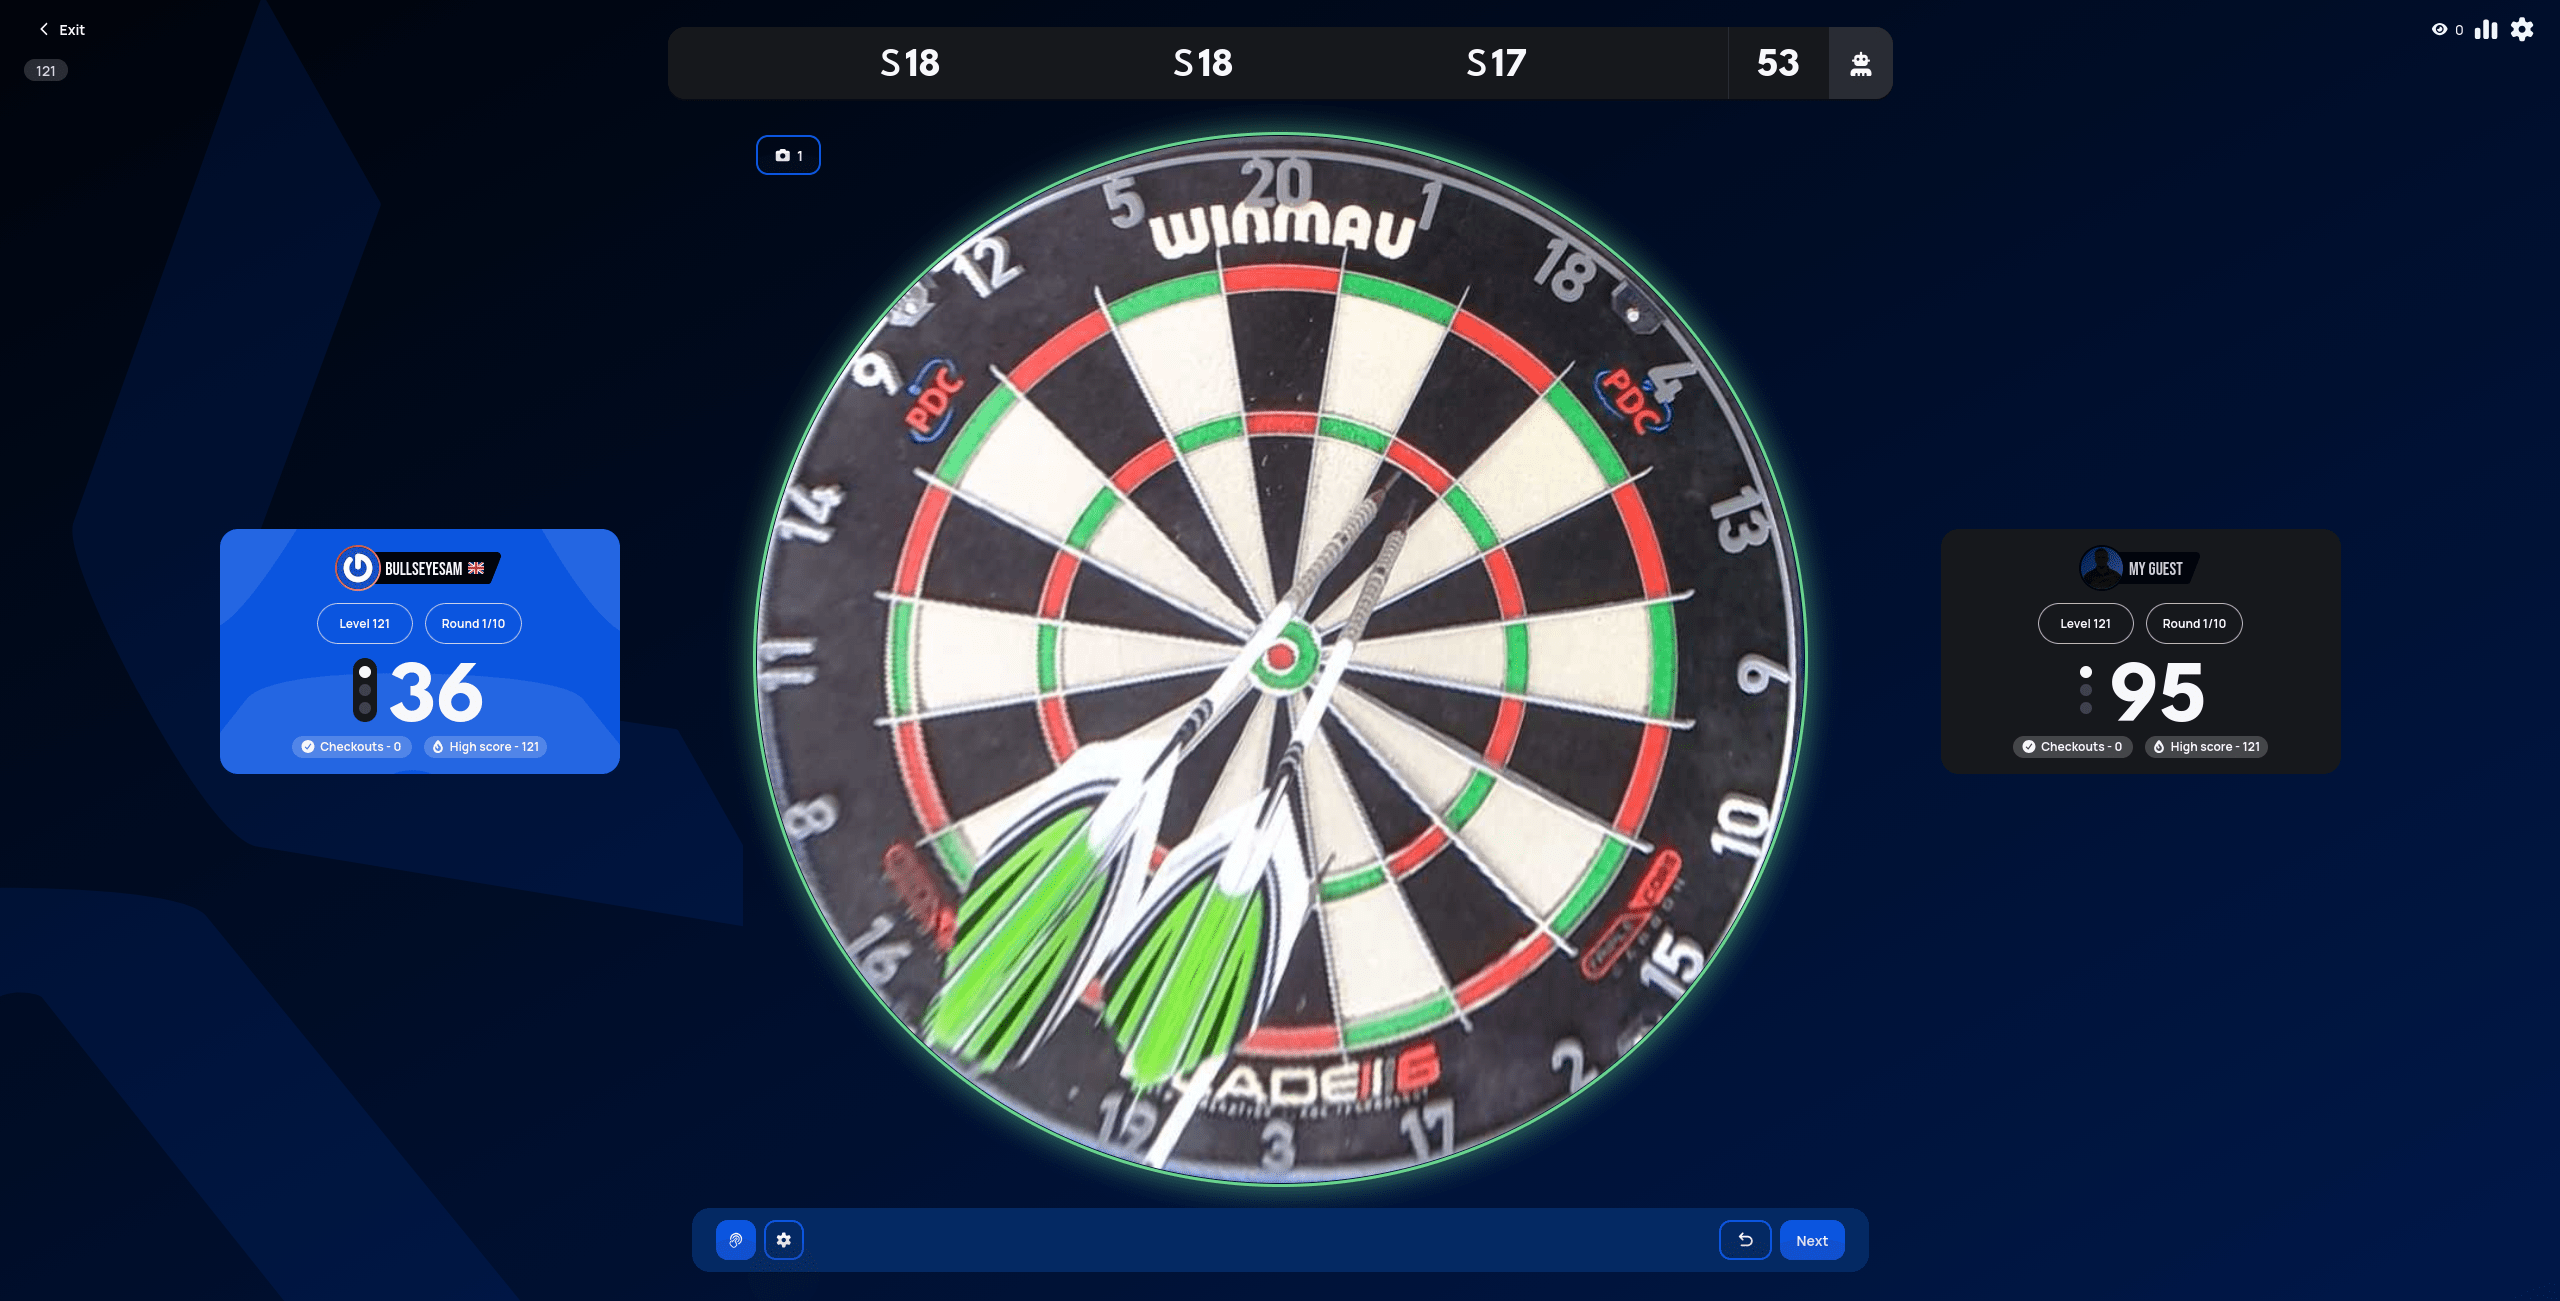
If you are within finishing range, the score bar at the top suggests a way to get there, the same checkout guide X01 uses:
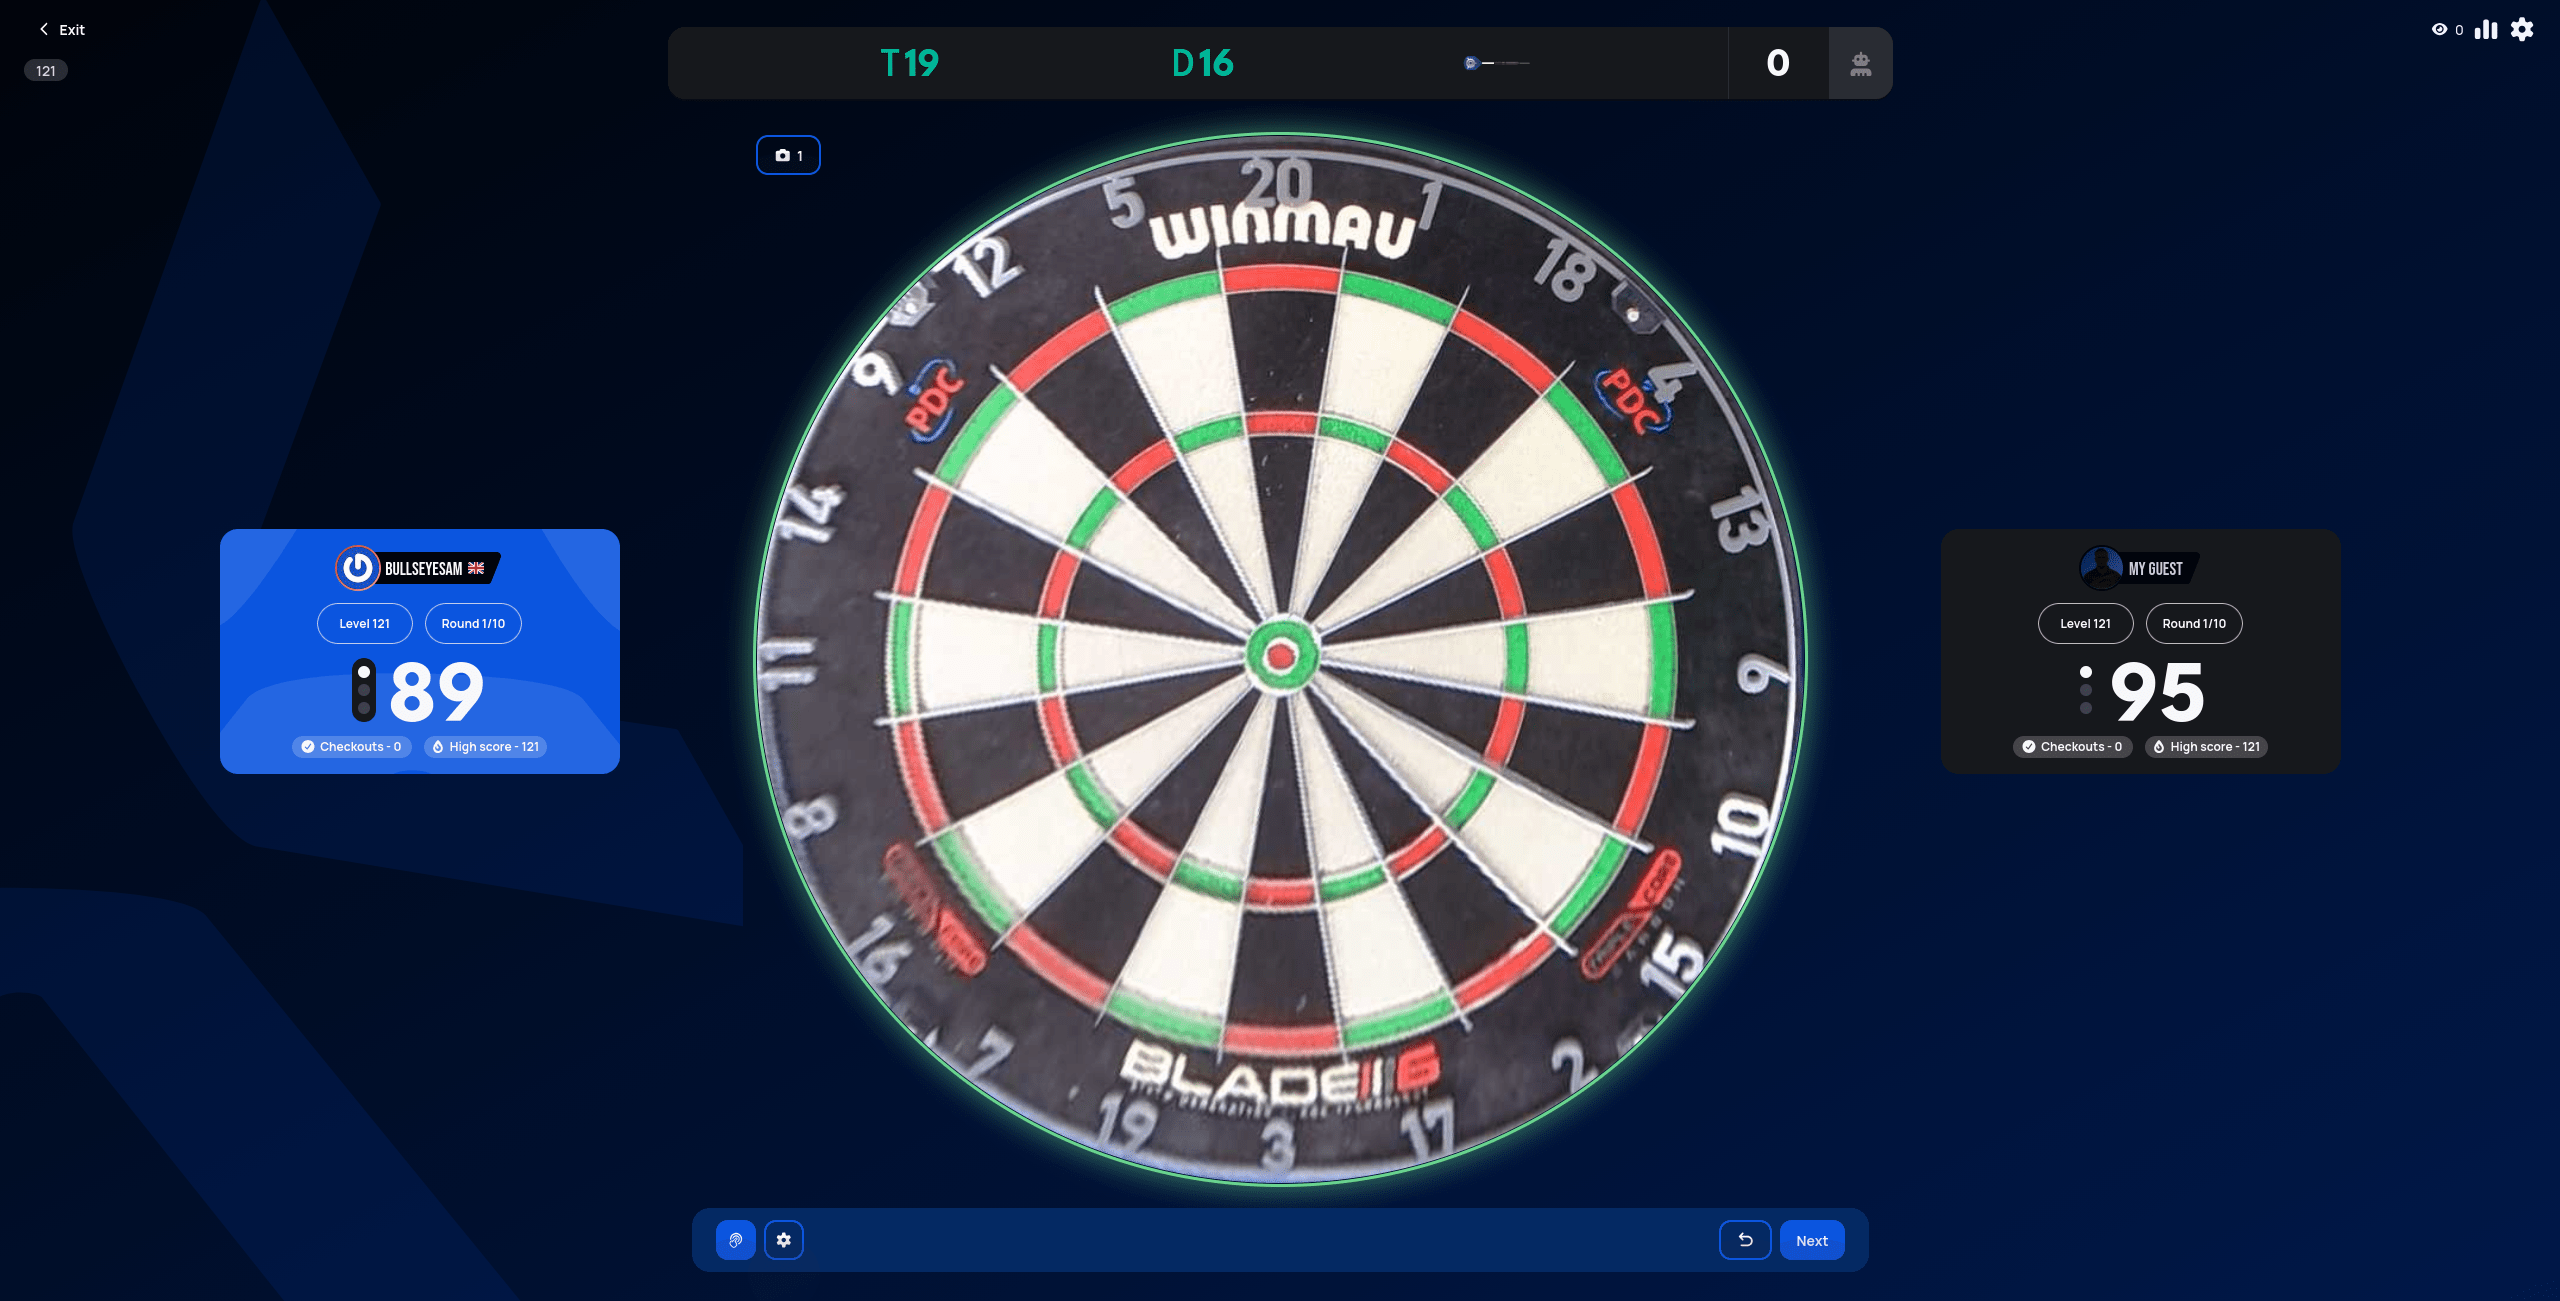
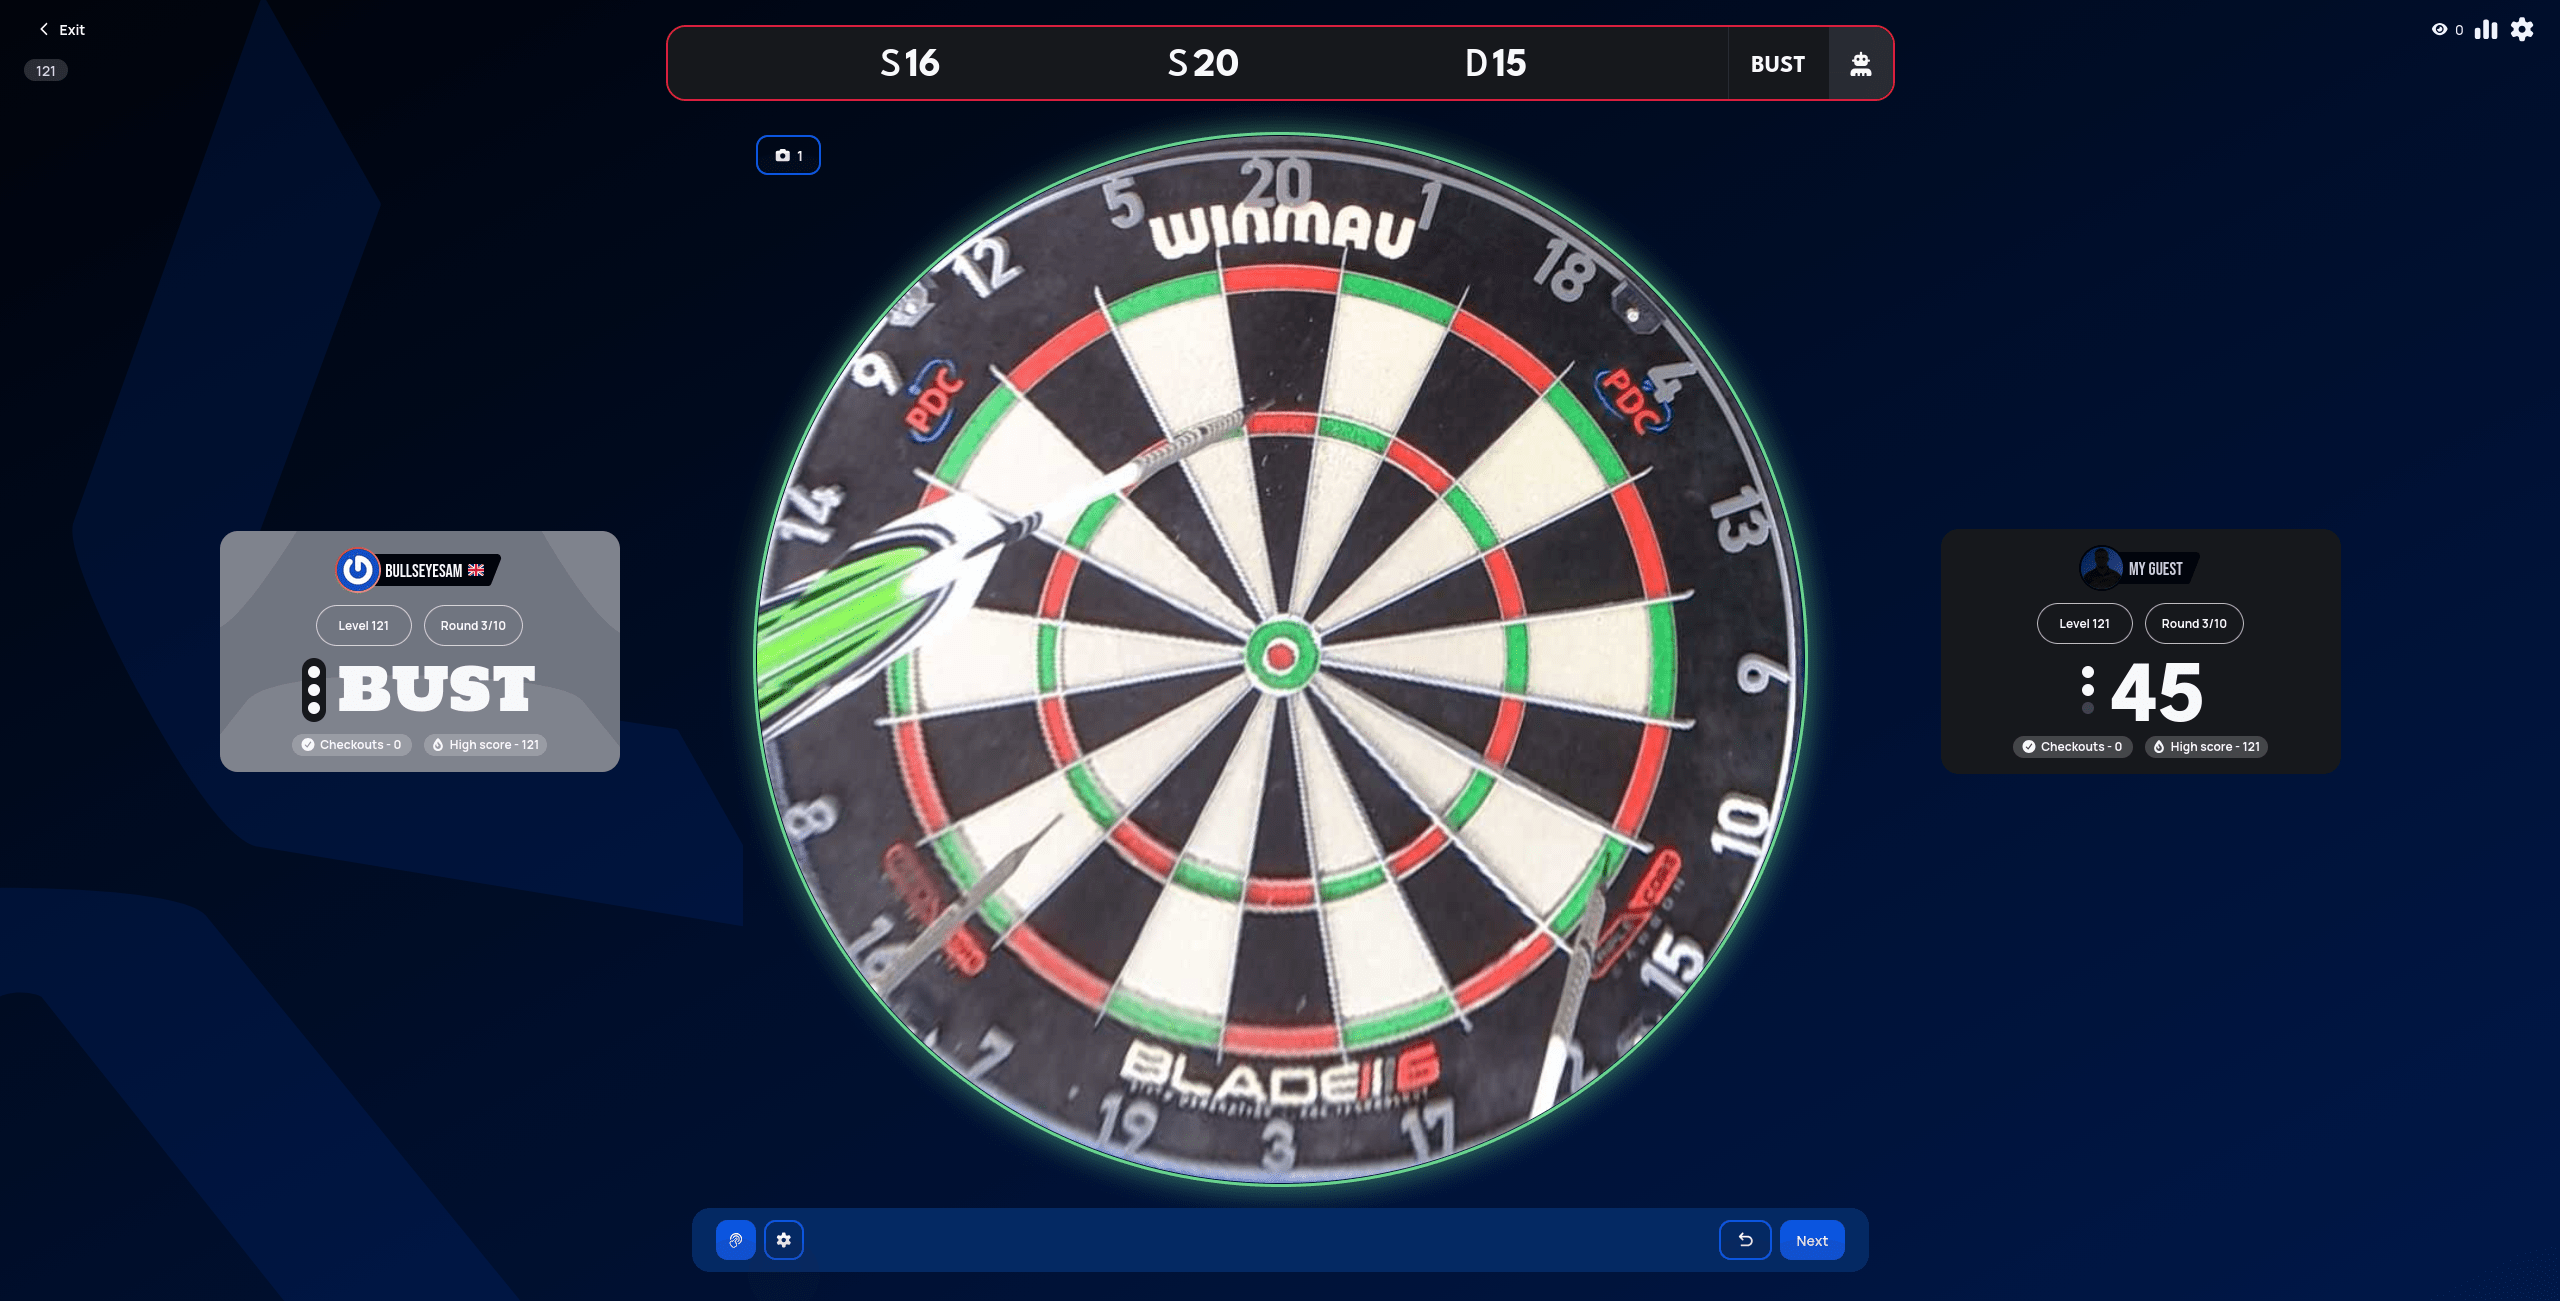
Overshoot your target — or leave yourself on 1 — and the score bar turns red and reads BUST. The turn scores nothing, and you carry on with whatever turns are left in the round:
Climbing and slipping
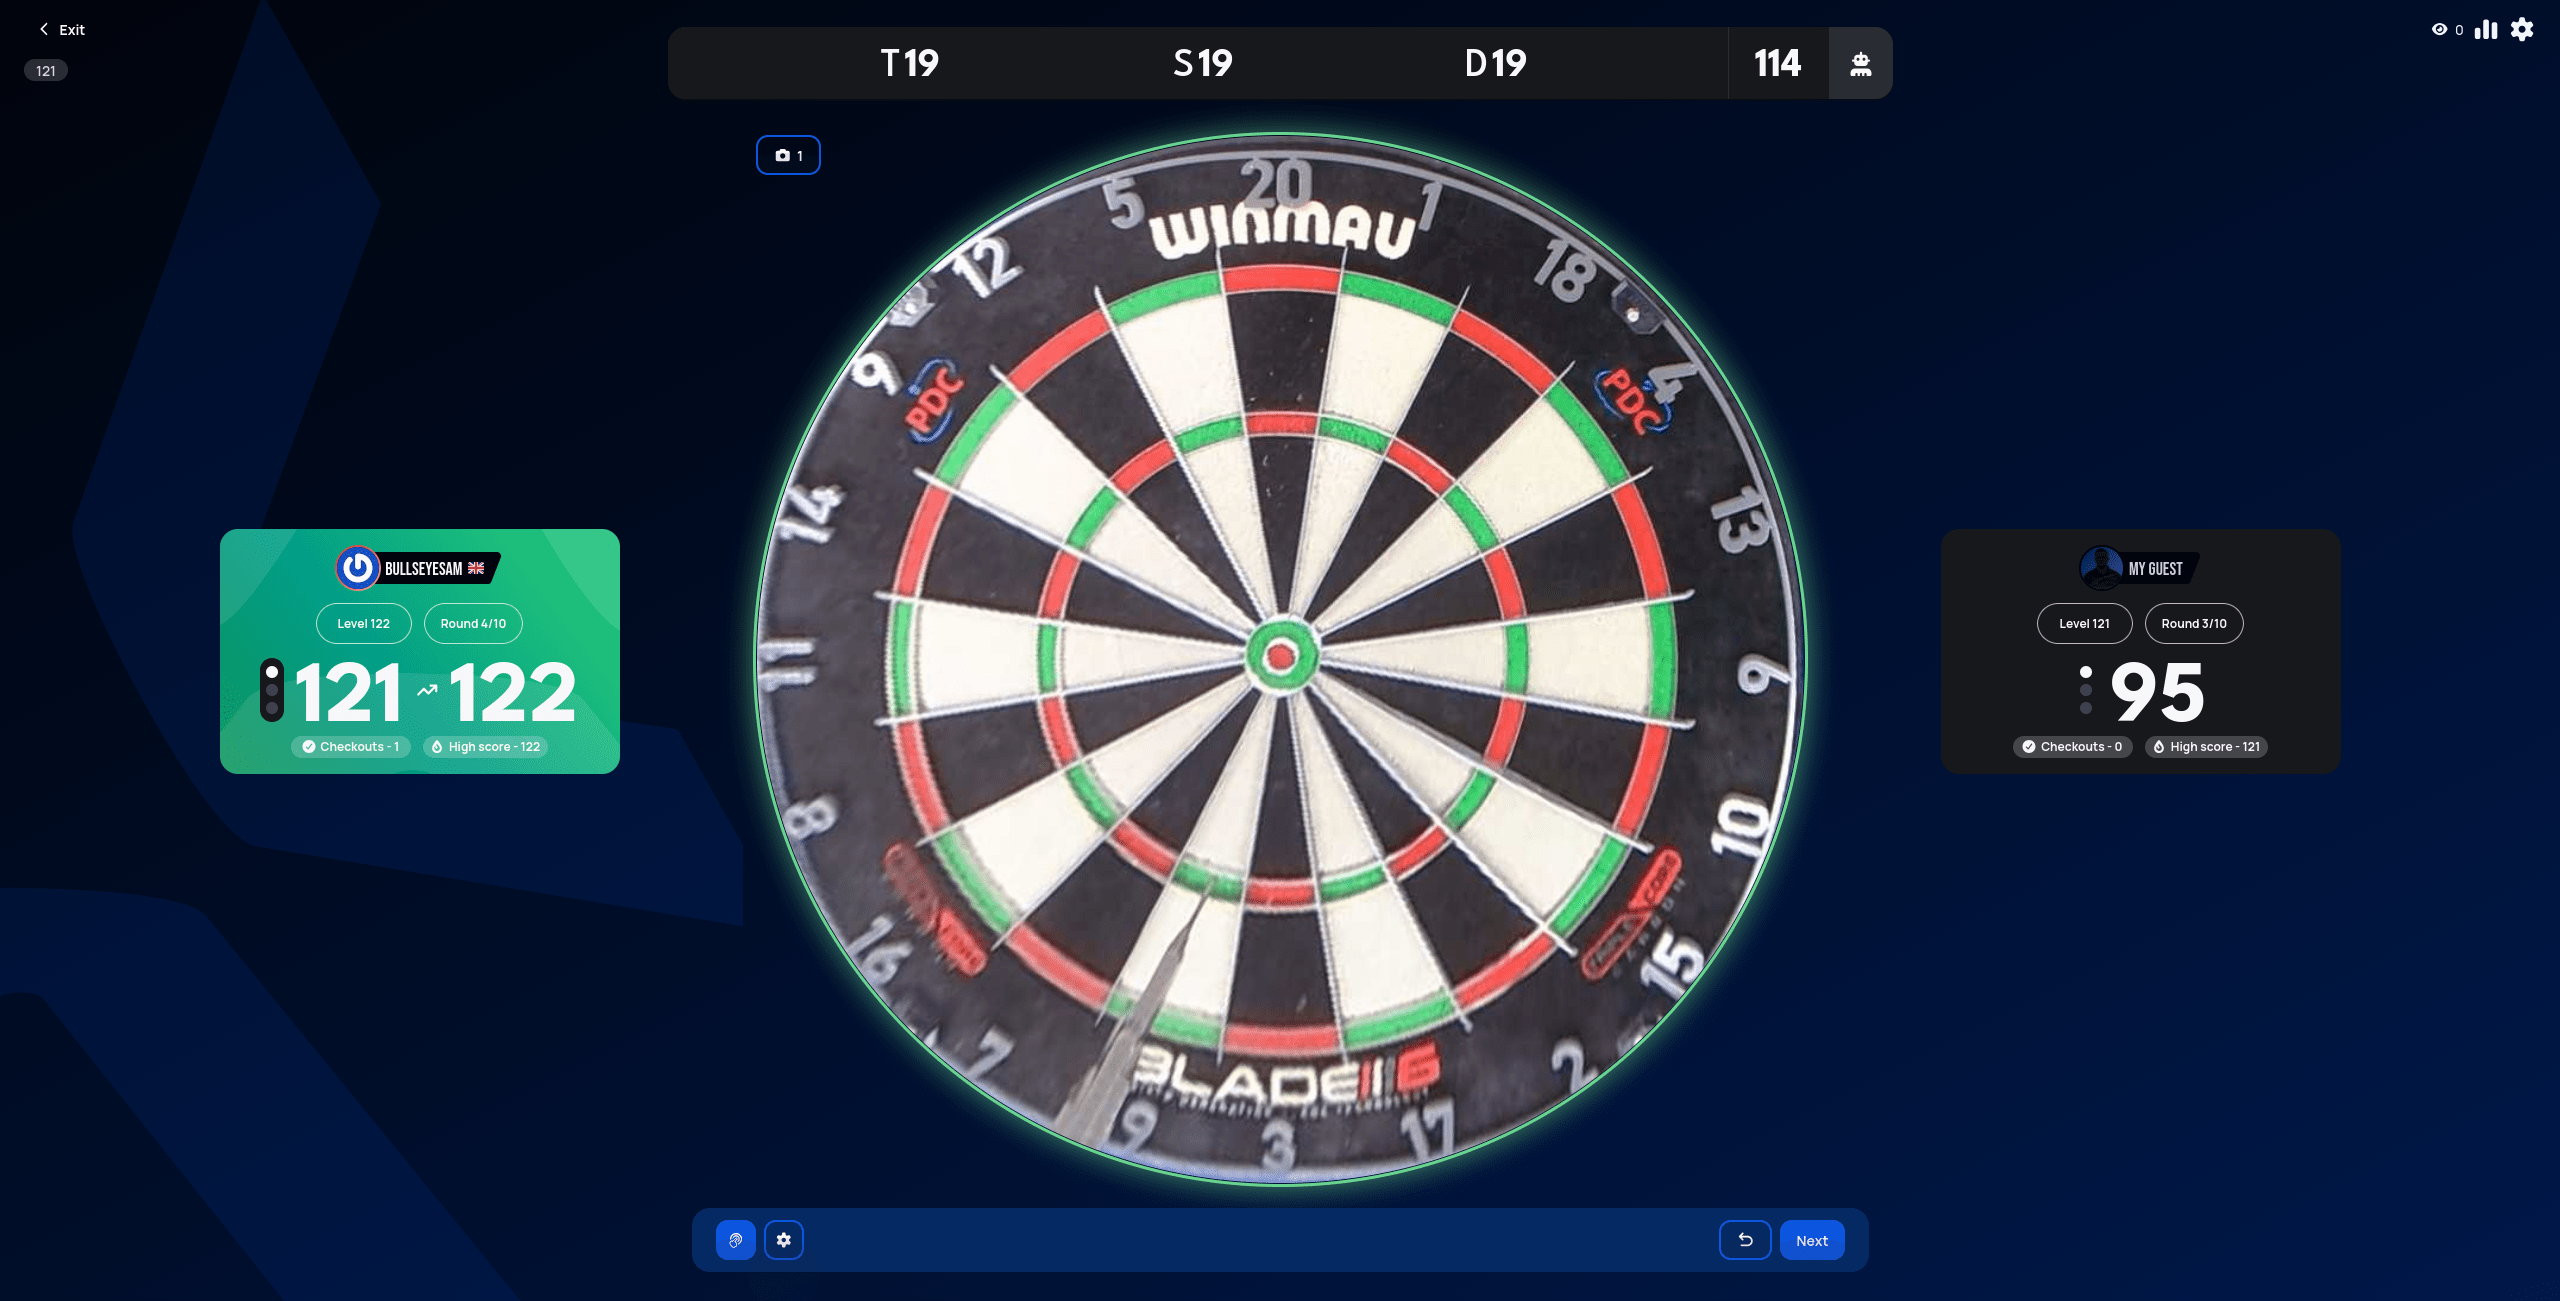
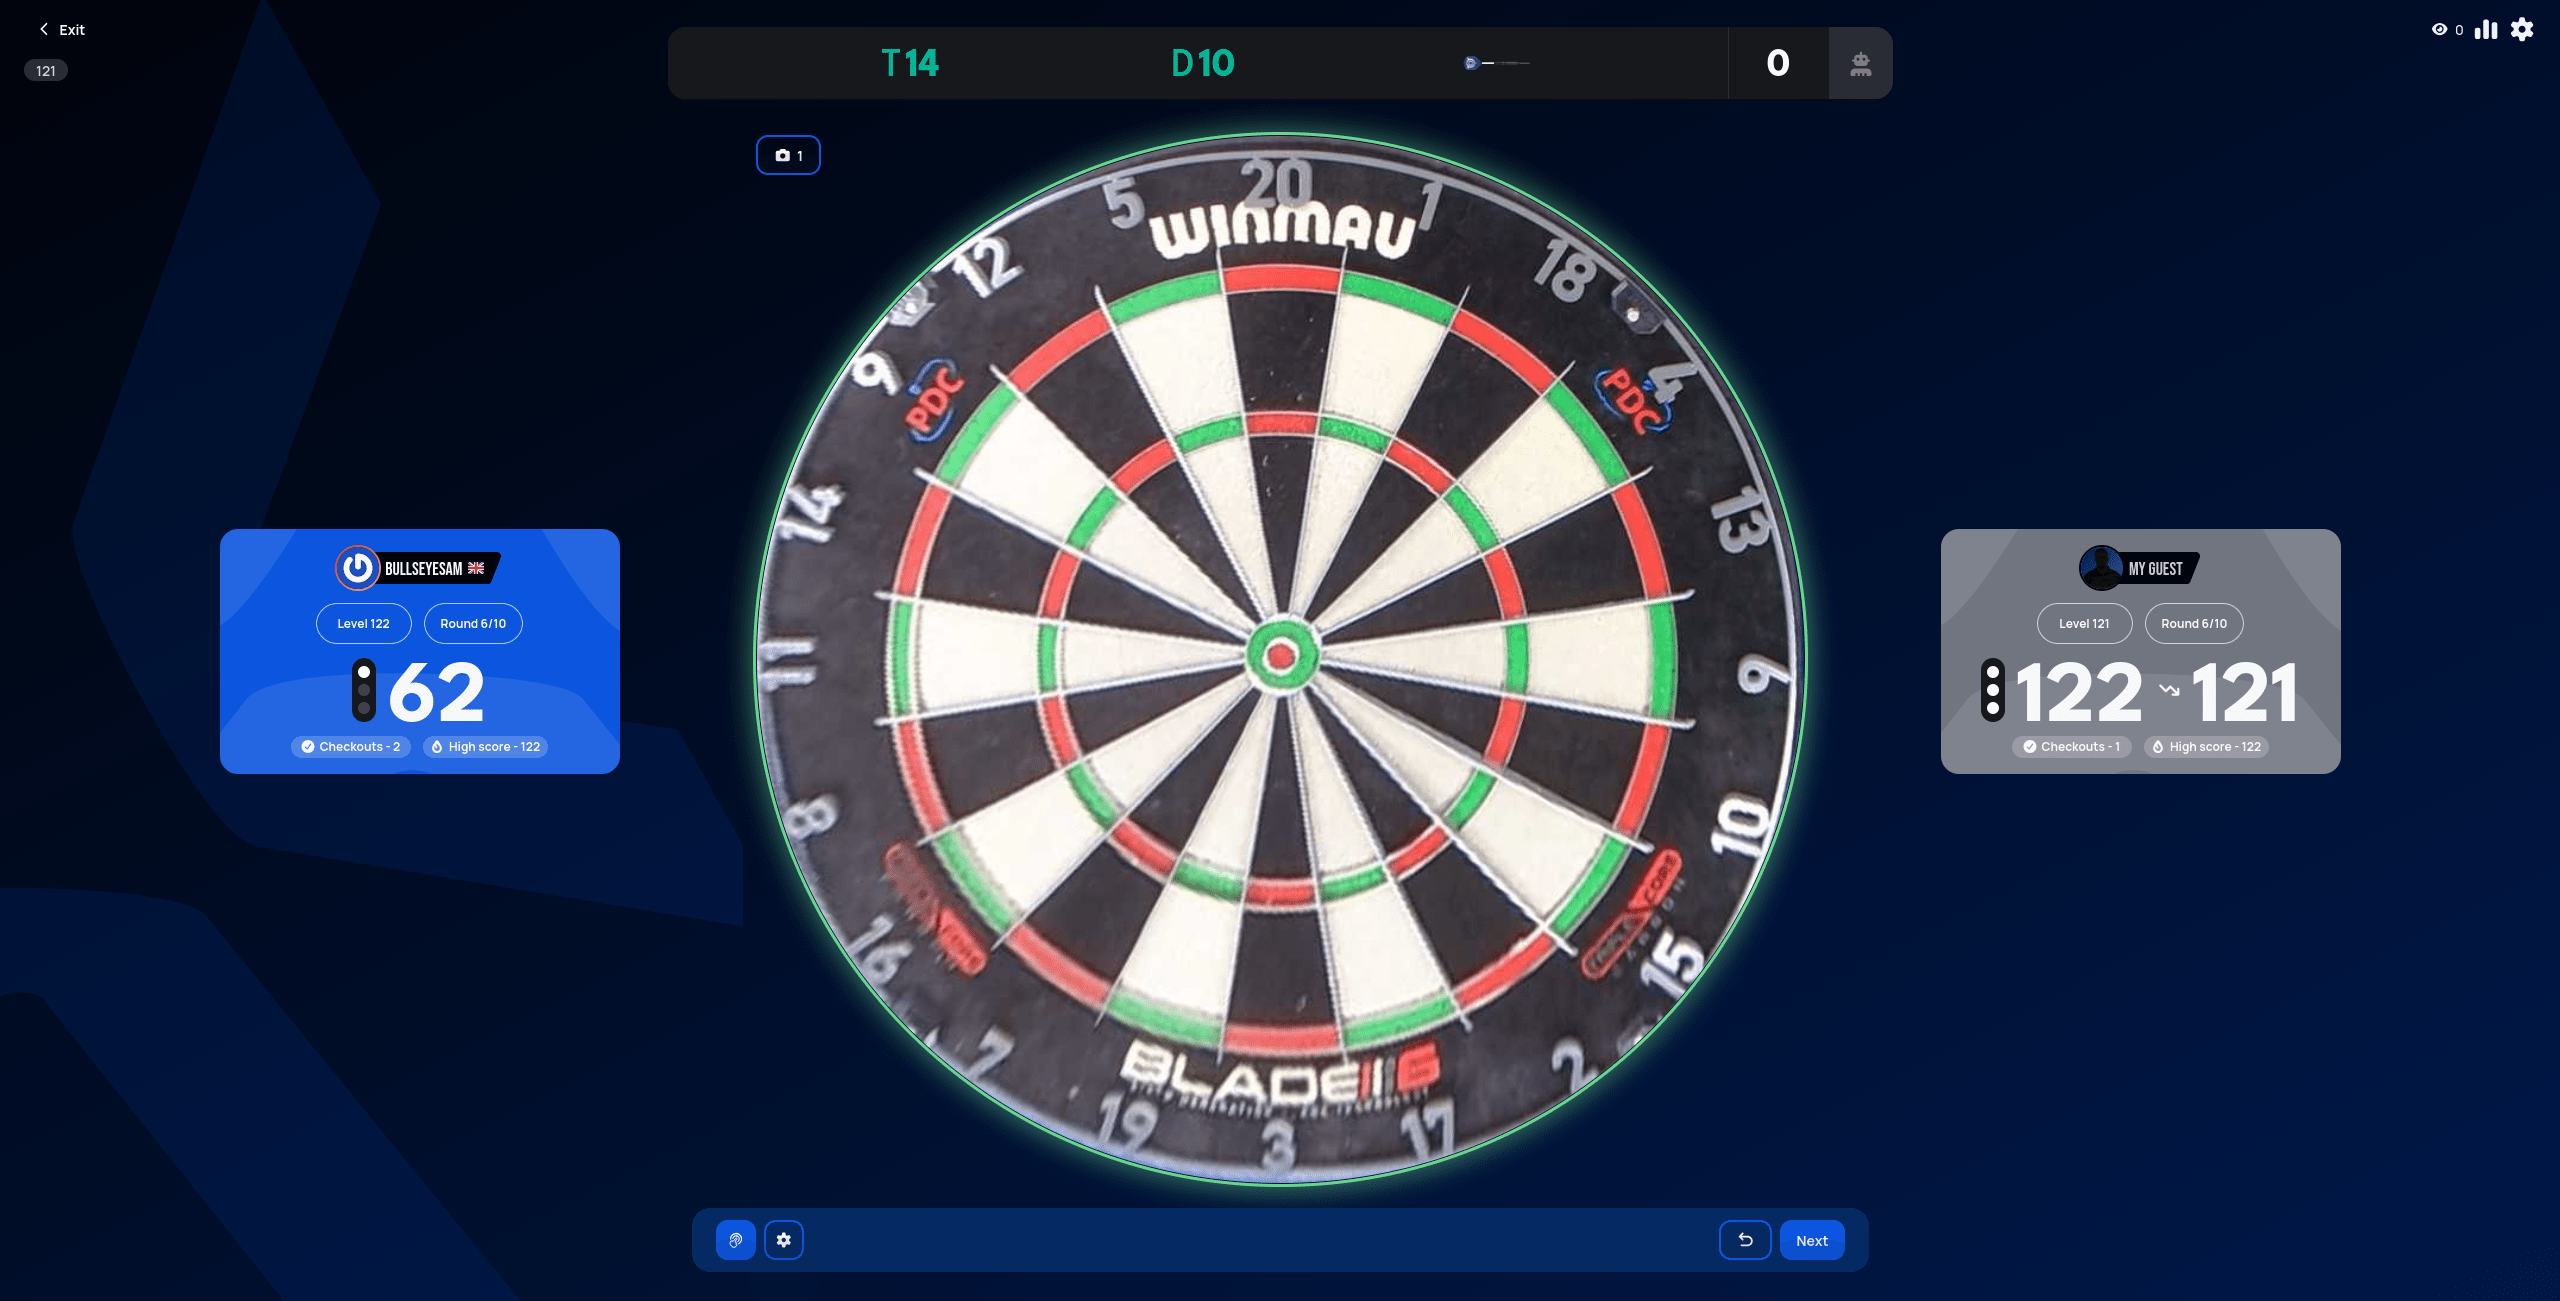
Check out your target and the card turns green, showing the old target and the new one with a rising arrow between them. Checkouts ticks up, and so does High score if this is the furthest you have climbed:
Use up all your turns without checking out and the card turns grey instead, with a falling arrow and whatever drop On Fail calls for:
Finishing
The game ends when someone checks out 170, or when the last round has been played. Either way, Finish saves the match and its stats, and Next Leg starts another:
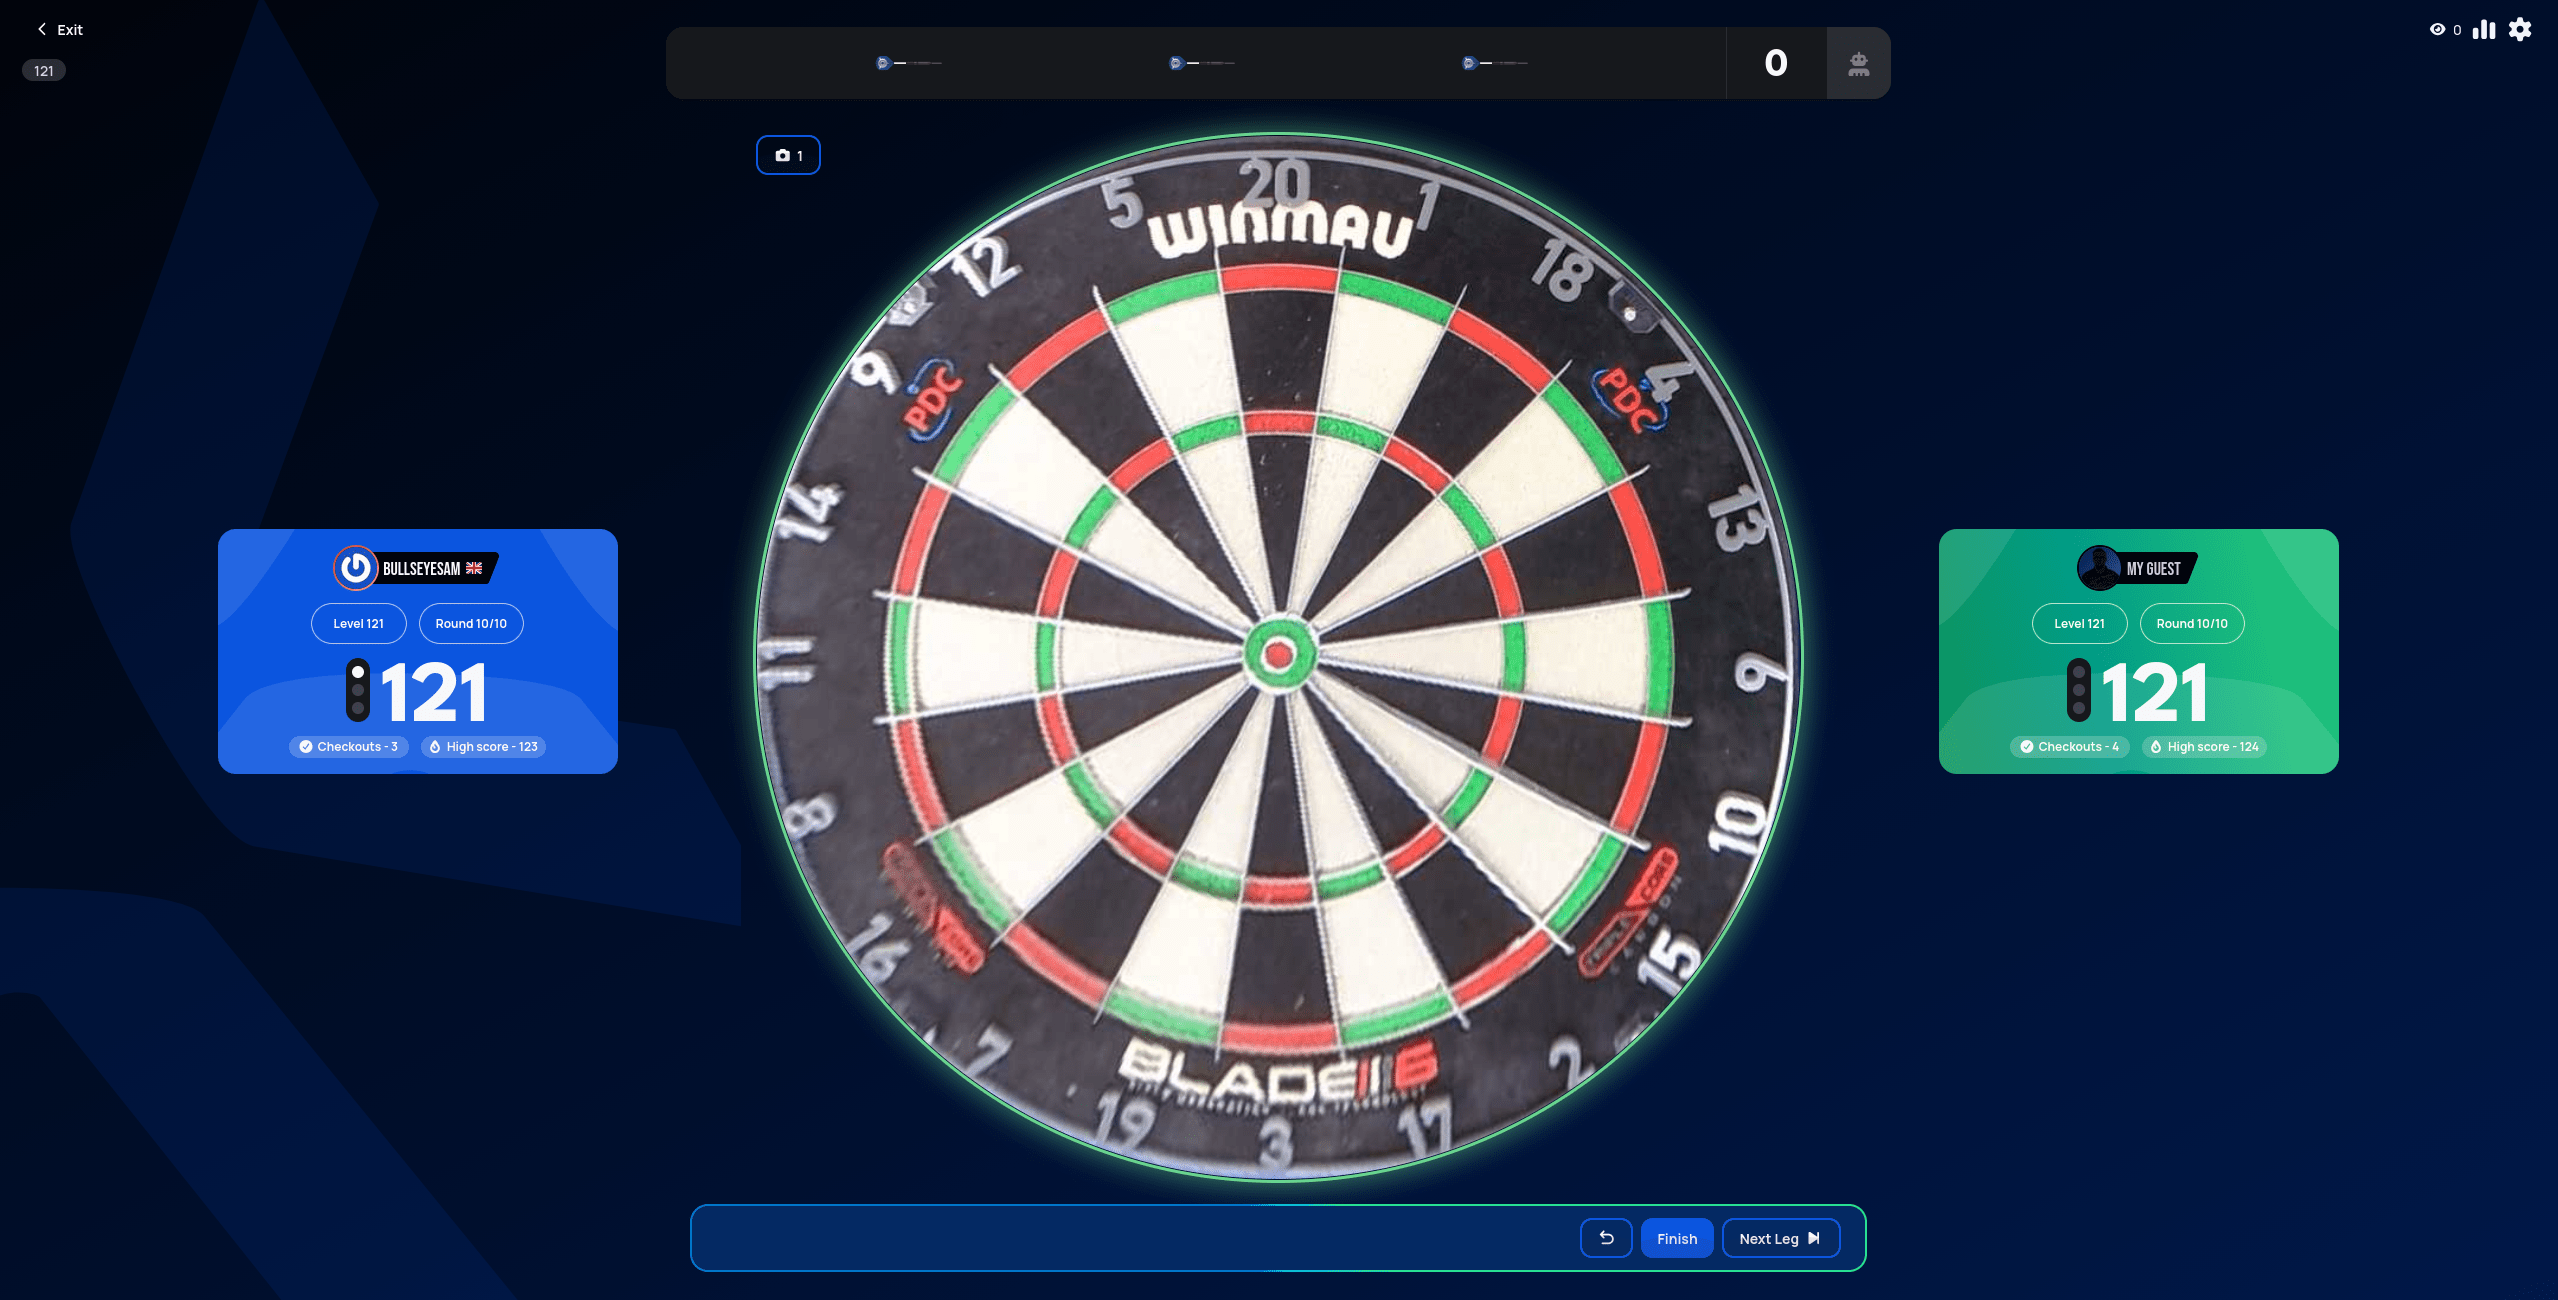
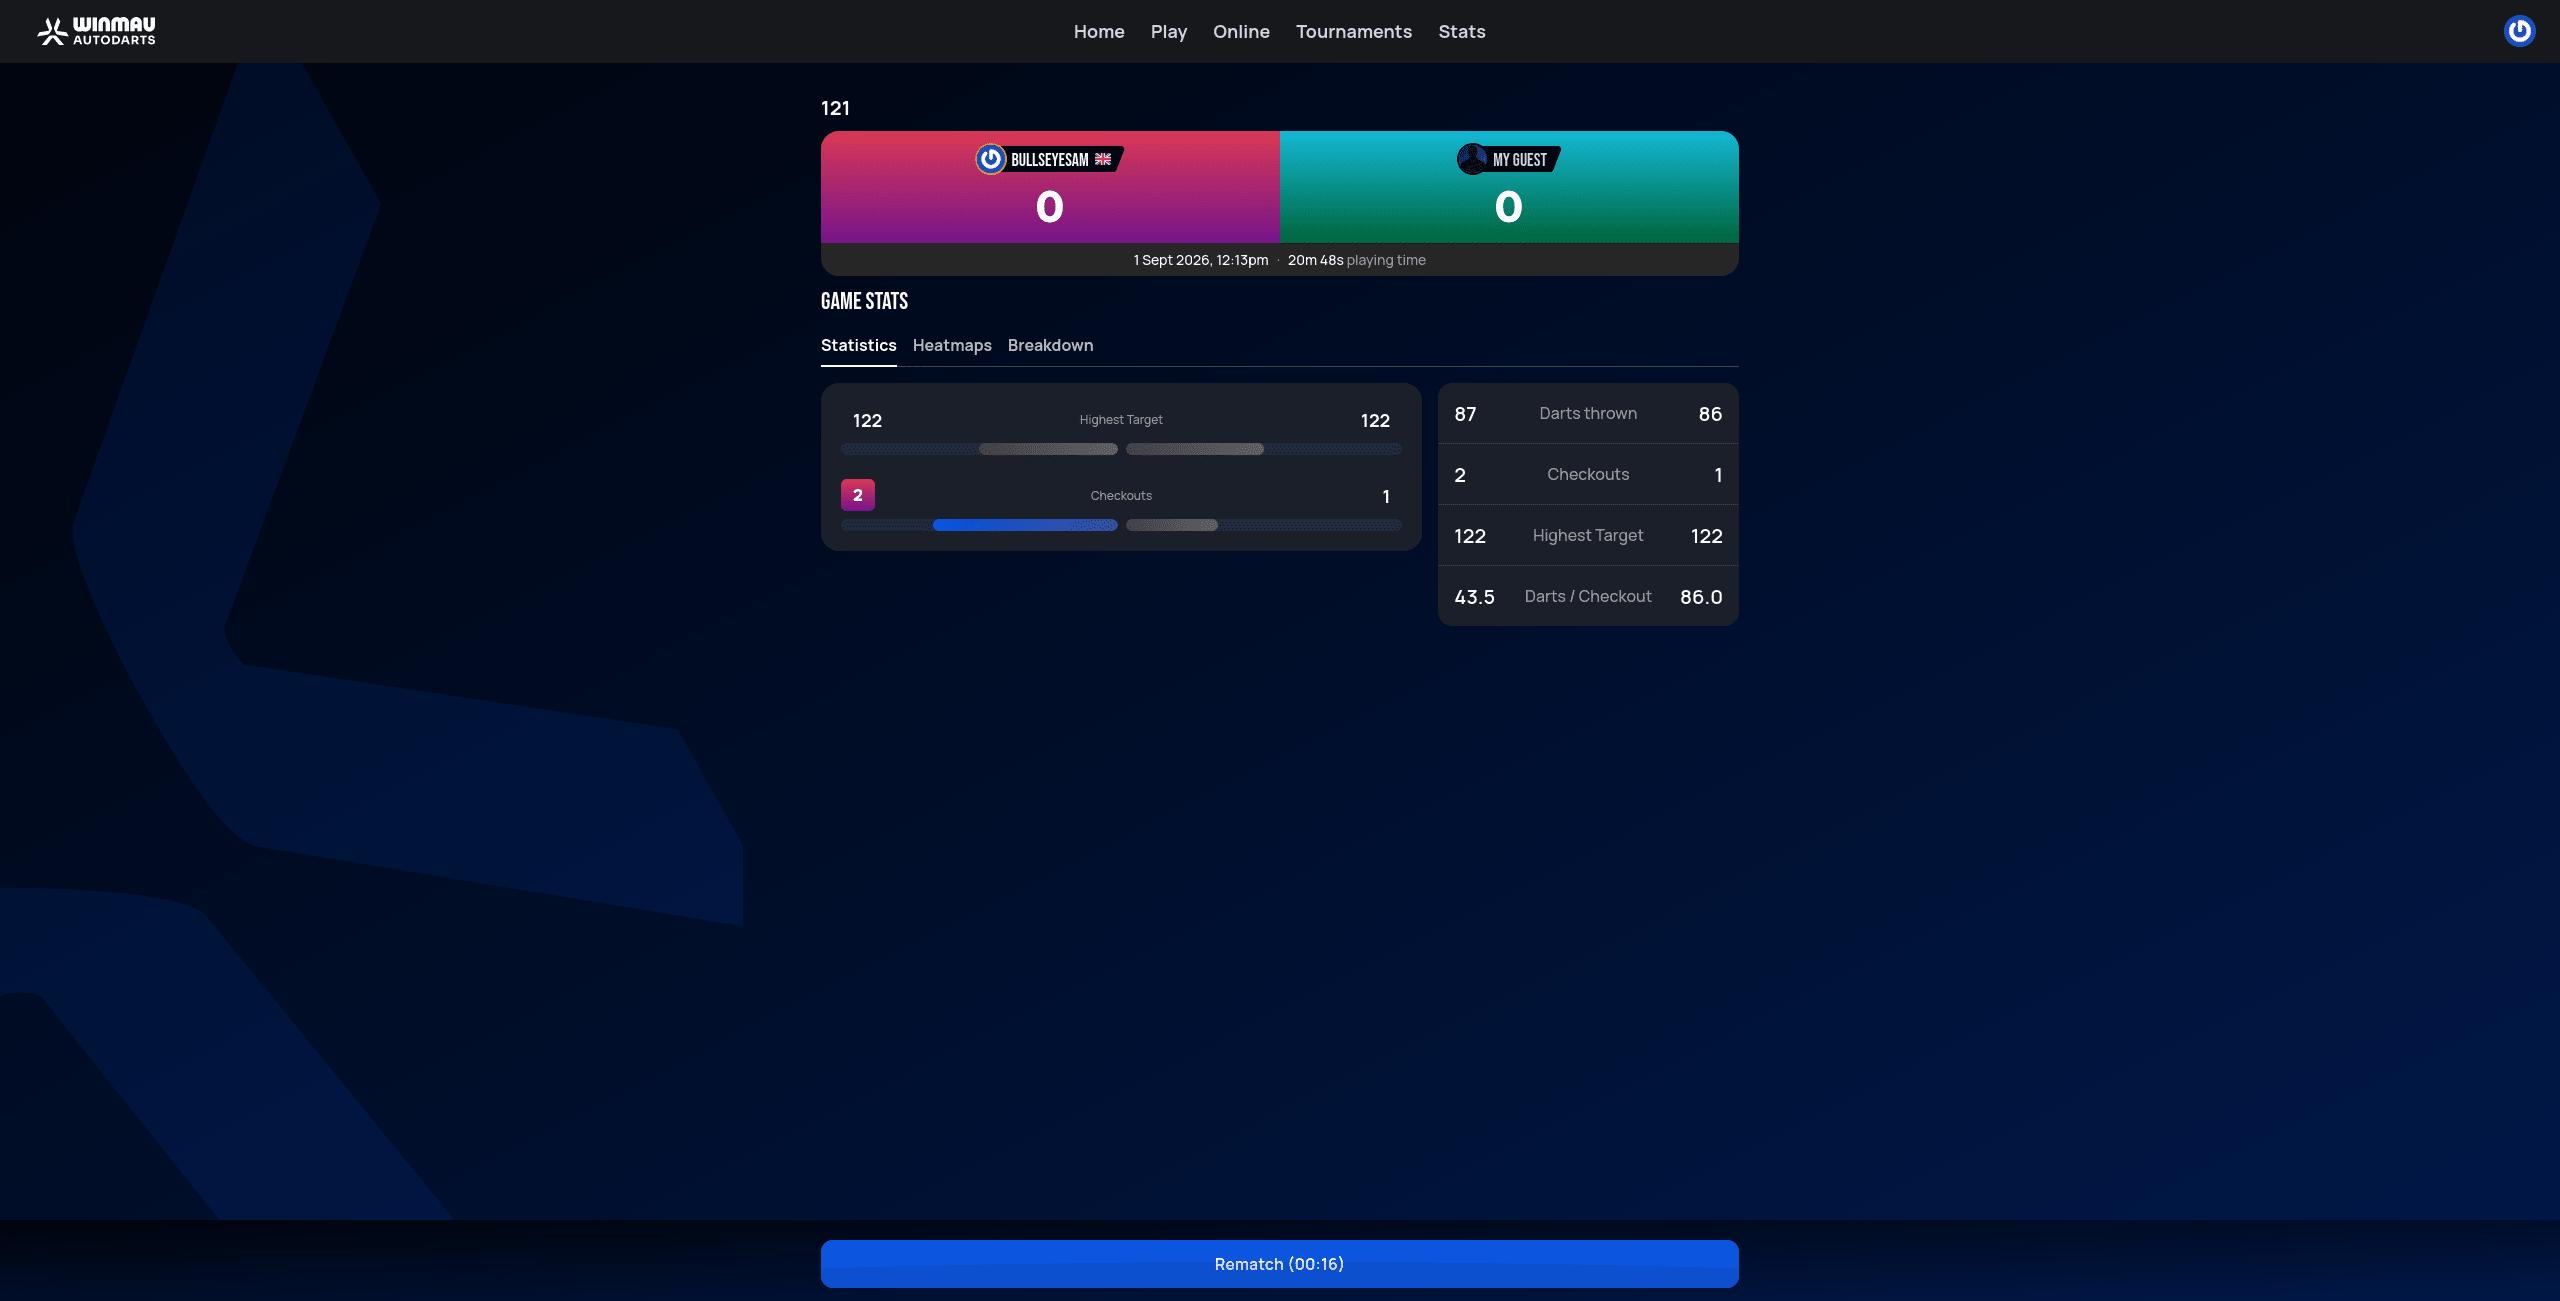
A win only gets recorded if someone finishes above the 121 everyone started on — and that means the target you end on, not the best one you ever reached. Slip back often enough and you can finish a game on 121 having climbed well past it, which is exactly what happened here. With no win to show, the score line stays 0–0 and the stats highlight whoever led instead: Highest Target first, or Checkouts if that's tied too.